With wedding planning in full spring, I knew I wanted to do something special to ask my bridesmaids to be in my wedding party. I began to do some research (on Pinterest, of course) for ideas and stumbled upon what they call a “Proposal Box”. I loved the idea of a keepsake that I could gift to my friends to go alongside my important question. Sadly, I did find that most of the boxes were not personalized towards the recipient, more a generalized box of bridesmaid swag. With all of that in mind, I took the idea of the proposal box and amped it up to create personalized bridesmaids boxes geared to each of my girls and our friendships over the years. I also made sure that each box had the opportunity to be something like a memory box, so they could continue to use all of the things inside even beyond the wedding. I’m happy to share how I created these personalized bridesmaid boxes so maybe you too can create and craft something special for your tribe of girls that will be standing by your side.
WANNA POP THE QUESTION WITH THESE BOXES? PIN IT TO SAVE!
As I said above, I wanted to create these boxes as a personal piece to asking my bridesmaids and maid of honor to be in my wedding party. So I knew that photos were a must, a sturdy but affordable box, something unique to their personalization and likes, and a few things that linked us all as a wedding party. I probably spent in total about $30 on each girl, maybe a little more, but my goal wasn’t really how much everything cost, I wanted to create something special for them that they would cherish.
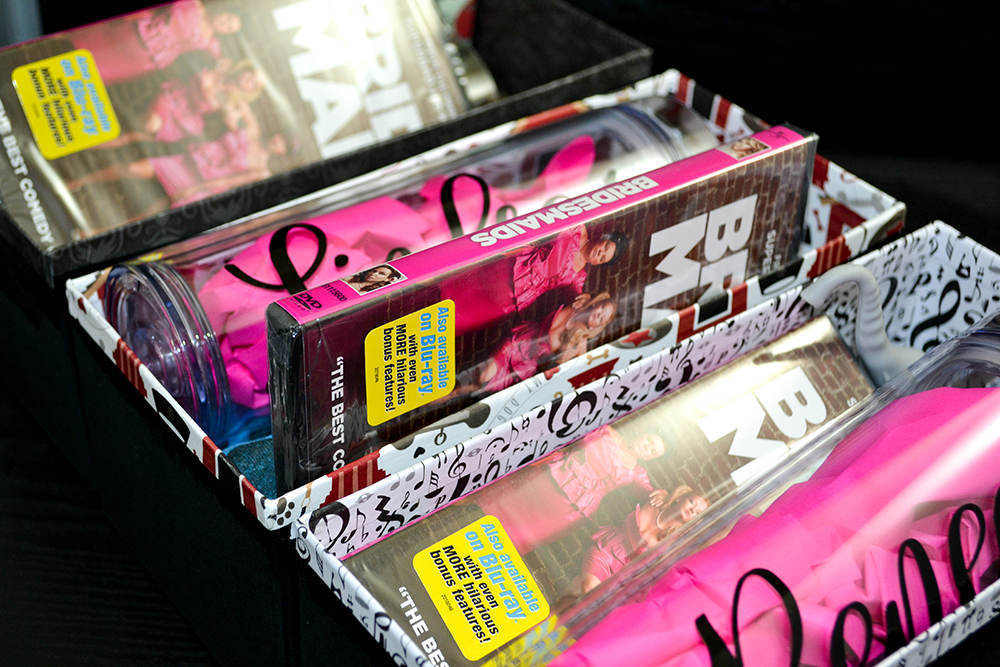
My Main Contents & Supplies Needed
- Box: The one I picked is from Ikea and it cost $1.99. I picked this one because I knew it would be the perfect size, it’s black (one of my wedding colors), and affordable.
- Photos: I had to do some digging but I found and printed a bunch of photos. Just got these at my local photo center, which ran about .20 cents a photo.
- Mod Podge: If you haven’t heard of this stuff, it’s amazing. You can basically use it to piece and glue anything together and comes out with a clear glossy or matte finish. I had glossy on hand and used it for attaching the photos and the scrapbook paper. Find it on Amazon here.
- Scrapbook Paper: This can easily be found at your local craft store OR you can purchase booklets on Amazon if you are going for a theme. I picked out a few sheets for each of my bridesmaids with them in mind. For example, my maid of honor loves dogs so I found something with paws on it.

- Bridesmaids the Movie: I HAD to buy this movie for everyone. I found a copy of the DVD on Amazon for less than $8 each.
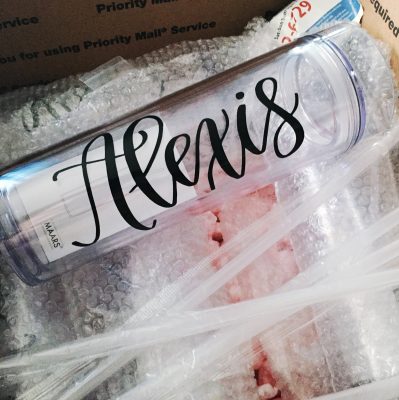
- Personalized Tumblers: I knew I wanted to find something I could personalized, that didn’t scream bridal, so I did some research about from Everyday Calligraphy on Etsy. She created these awesome tumblers (for about $12 per cup) and so I quickly purchased one for each of my girls and one for me too!
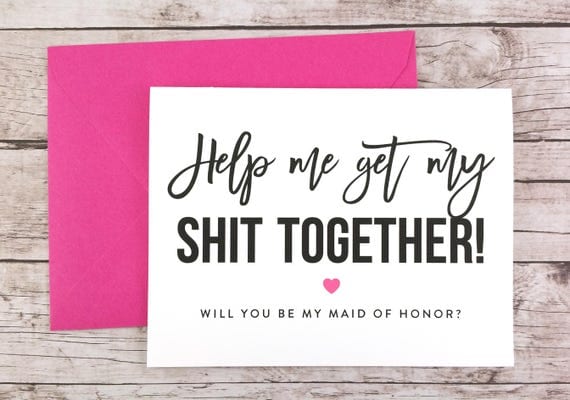
- Proposal Cards: I found the Firefly Paper Studio and fell in love with her selection of cards. I purchased a funny card for each of my girls and selected the hot pink as the envelope. I also may have purchased Jonathan’s groomsman a few things from here too!
- Personal Things: The rest of the box is filled with a few personal things I knew my future bridesmaid would love (a funny t-shirt about Netflix and naps, a monster themed journal, and a deck of cards to name a few) plus a little bottle of something to celebrate with. This part can be completely up to you and what is most special about your girls.
Putting your box together
After purchasing and shopping for all the goodies, I got start on creating the personalized boxes. This example shown here is with using my boxes I purchased from Ikea.
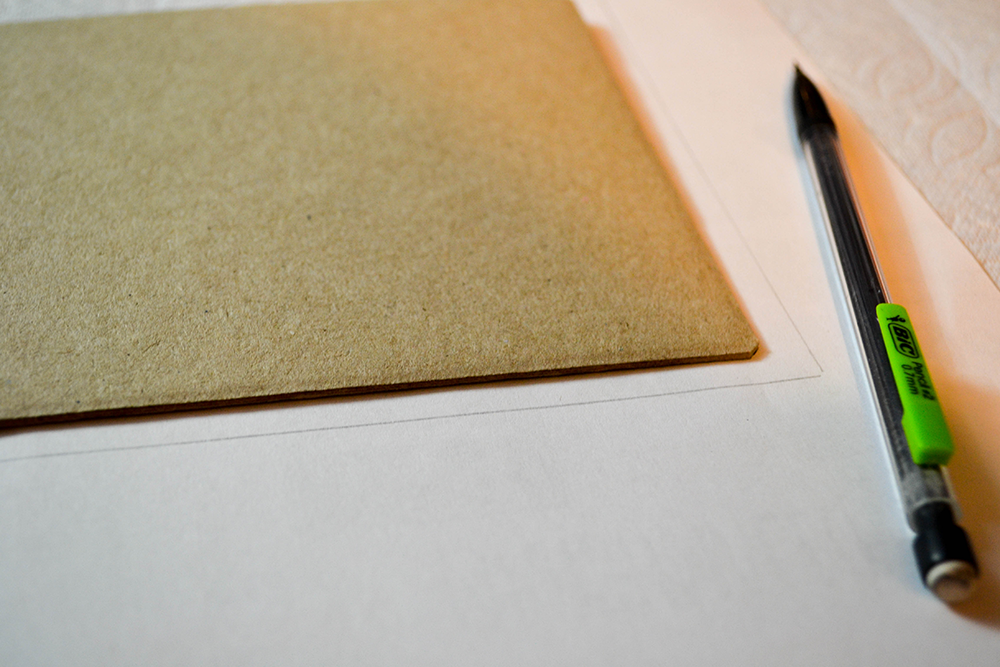
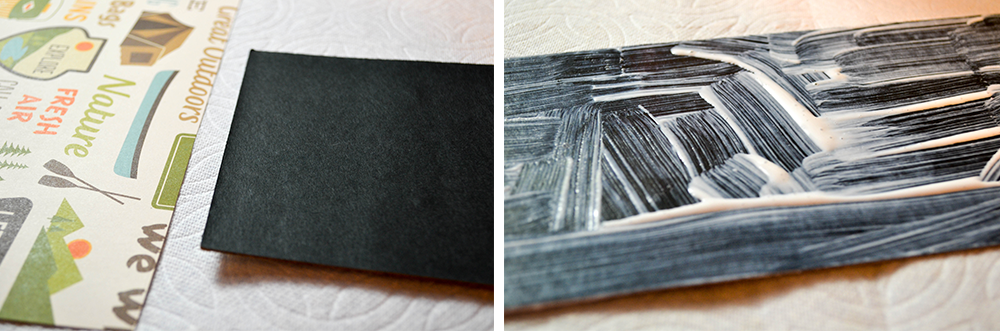
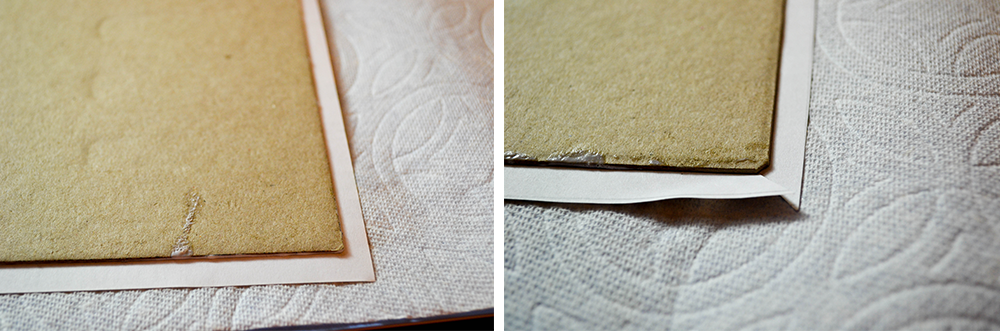
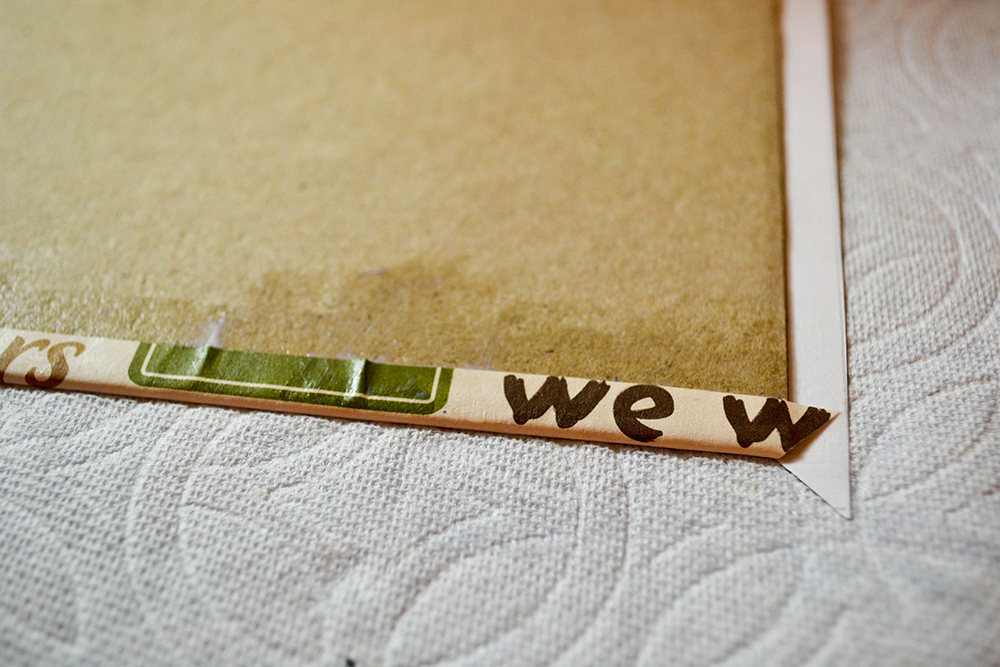
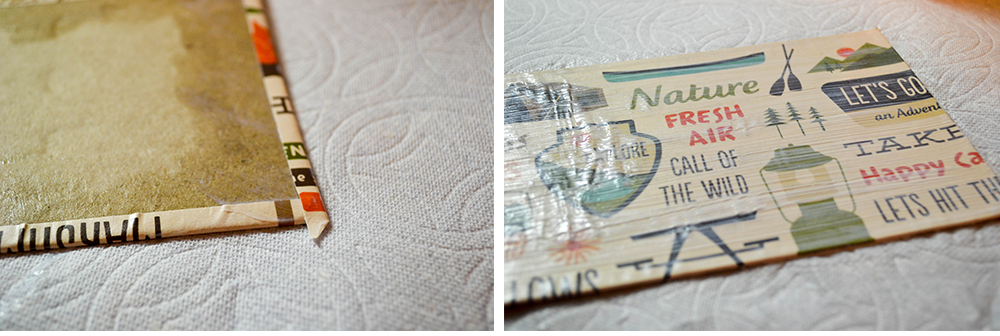
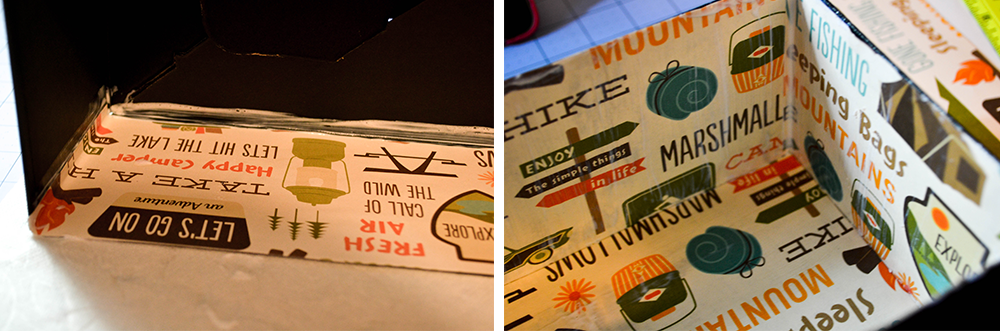
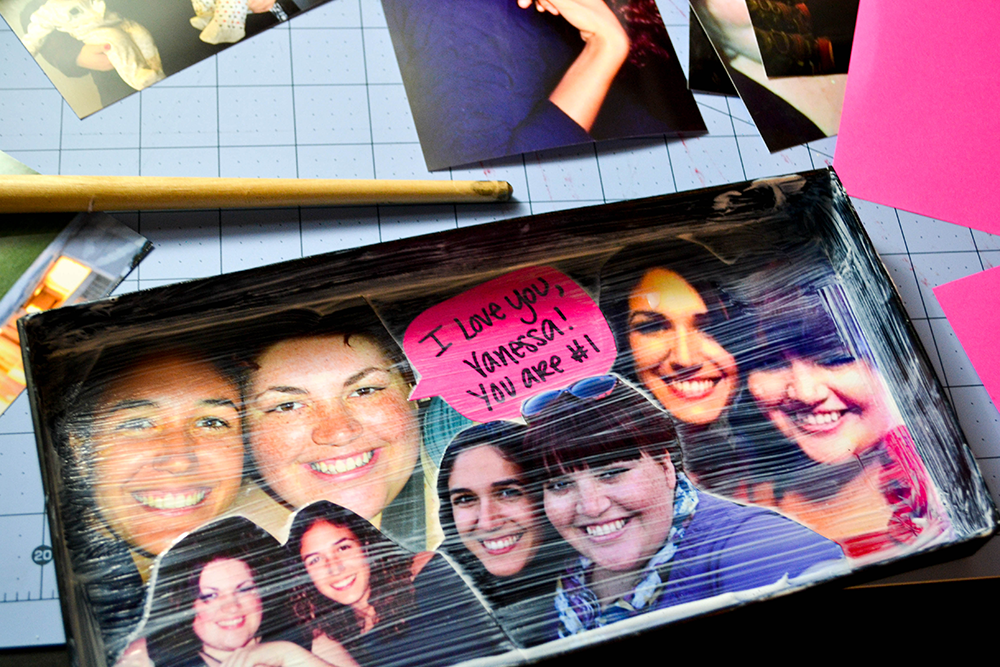
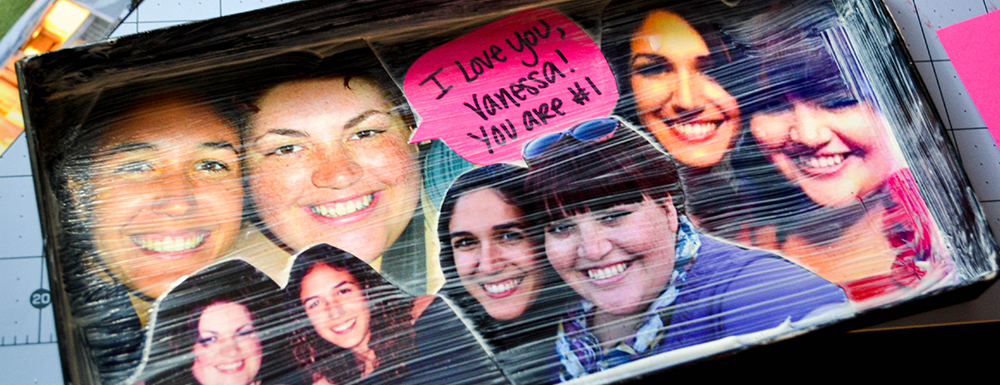
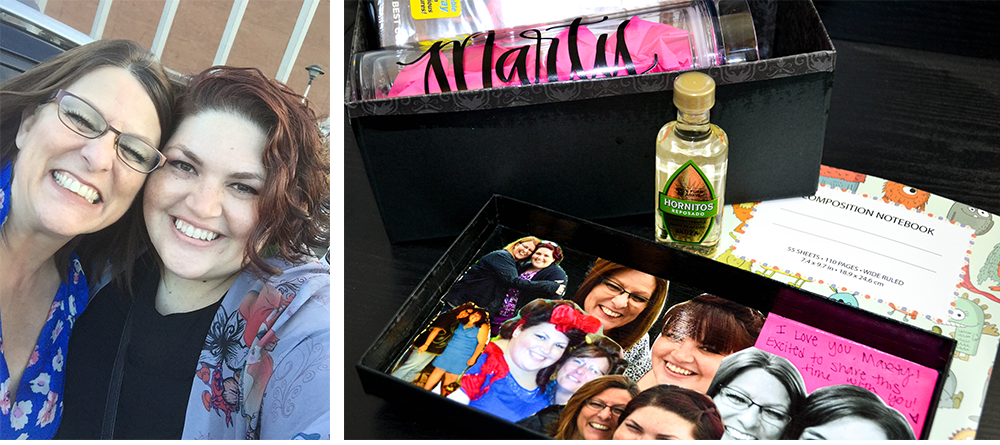
For the photo box tops, I picked a few photos I knew I could layer on top of each other. I cut around out heads and bodies and practice to fit them together BEFORE I began to glue in. Once I got the placement right, I added Modge Podge to the bottom of the box and layered each photo, making sure to add MP to the top of the previous photo if they overlapped. Once everything is in place, cover the entire photo area with MP. It will dry clear and seal the photos in the top.
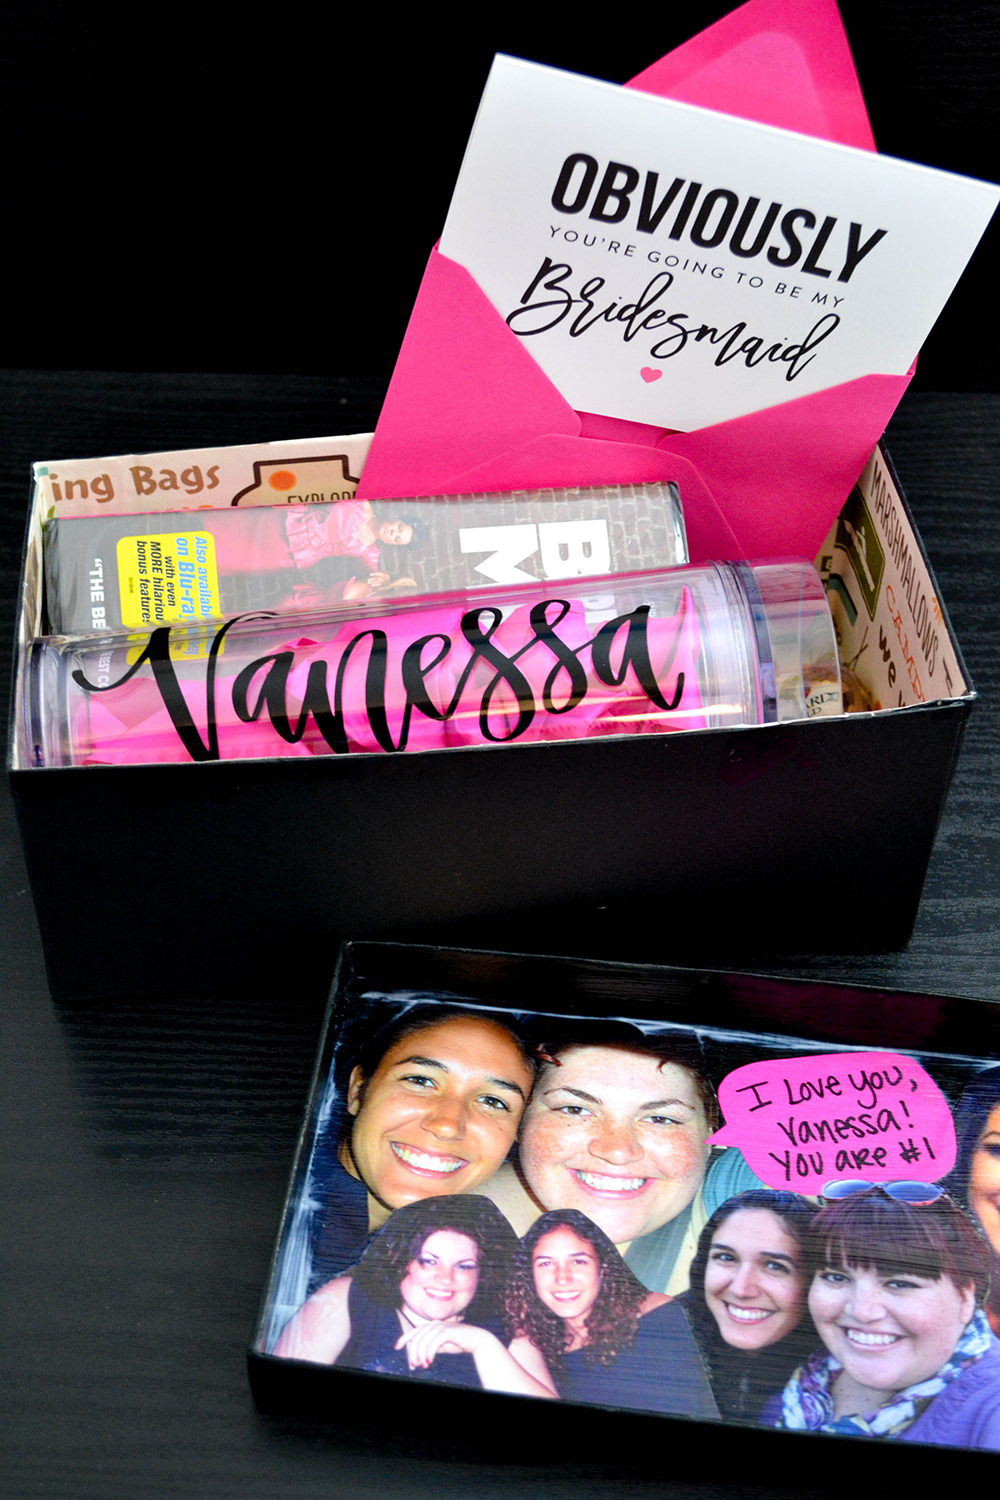
Another important thing to note is you want to give your boxes a lot of time to dry. Follow the directions on the MP bottle, but I do the touch test, and if it’s sticky, give it more time. I would give 1-2 days for the boxes to dry completely before filling them! My cover was obviously a little wet still but I wanted to get a picture before our flight to California!
Gifting your boxes
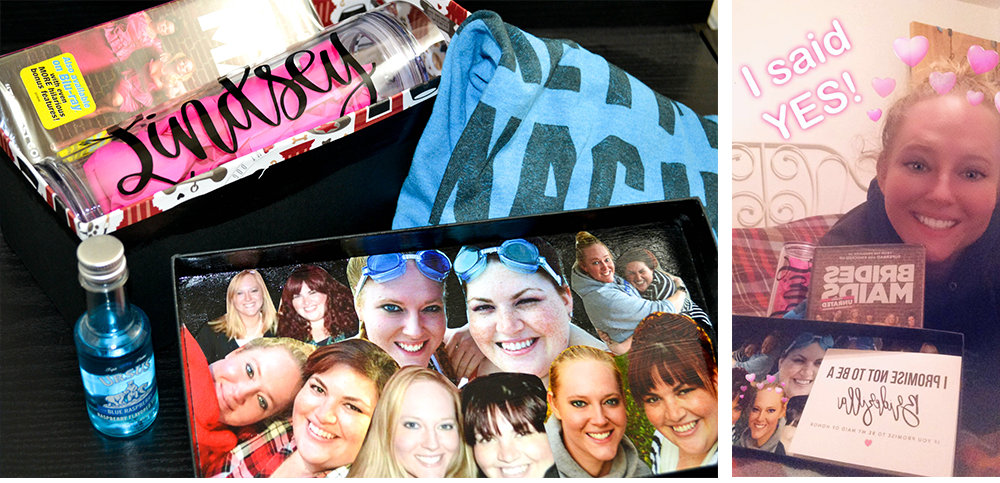
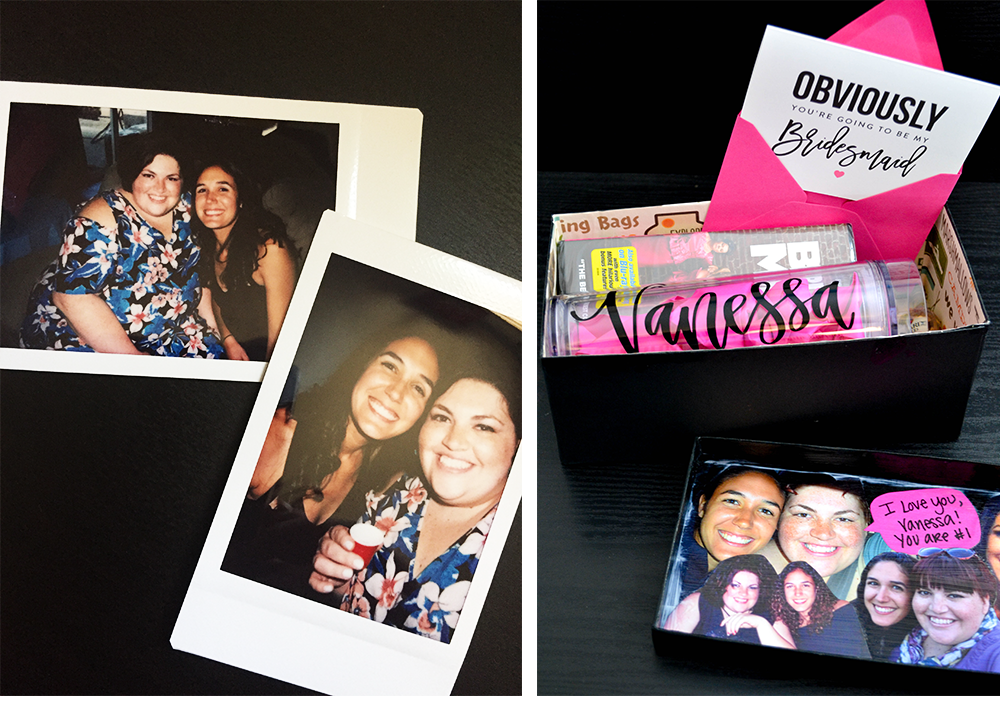
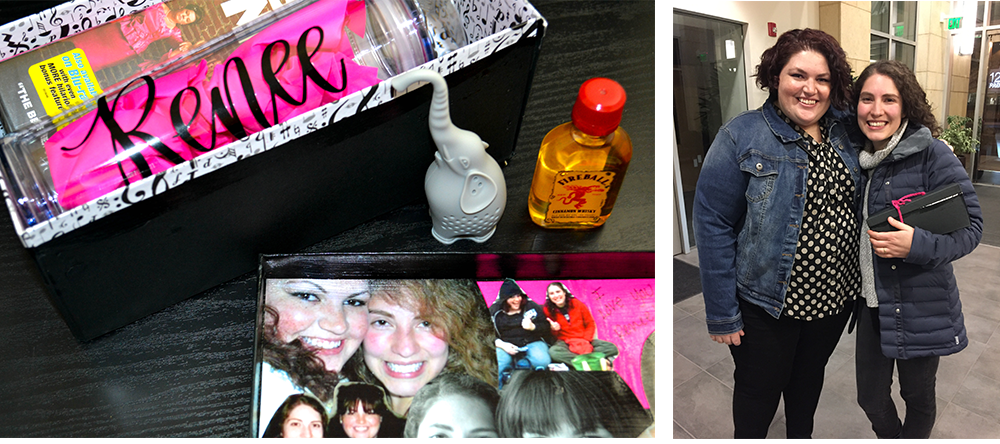
It was very important to me to meet up with each of my girls and gave them their box. Two of my bridesmaids live out of state, so I did have to do some arrangements there, but I got it done. Here are all my wonderful bridesmaids and their completed boxes!
be the first to comment