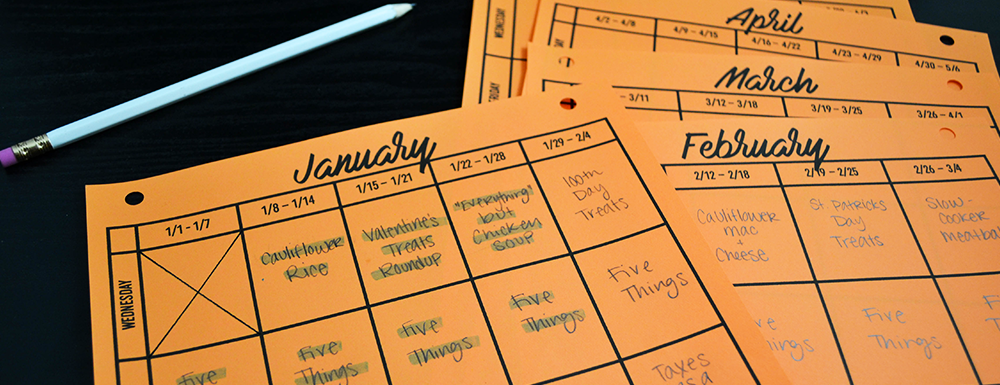
Yep, I literally planned out a year full of blog posts in just these few weeks of January, and you can too! I’m sharing the step by step process I go through to breakdown, research, brainstorm, and plan out my content for the entire year. Not only am I now prepared for each month, but have the ability to catch up and get ahead on my blog posts because of my planning. Whether you blog once a week, more than once a week (that’s me!), or once a month, these techniques will help you build your idea bank and get your blog ready and set for the entire year!
Want to get planning? Pin it to save
1. Break down your blog categories
Breaking down your categories is the most important thing I’ve learned over the last 4 years I’ve been blogging. You need to know what it is you write about and more specifically what categories/topics your blog fits into. And hint, it’s okay if you blog fits into more than one, mine does!
For me, I like to write about a range of things (always have and always will!) but I believe I finally narrowed it down to five main categories in which I’m constantly writing about. With knowing exactly what topics I cover here at Laugh Eat Learn, it gives me the ability to ease into brainstorming topics efficiently. No matter what type of blog you run, this type of format will work for just about anyone!
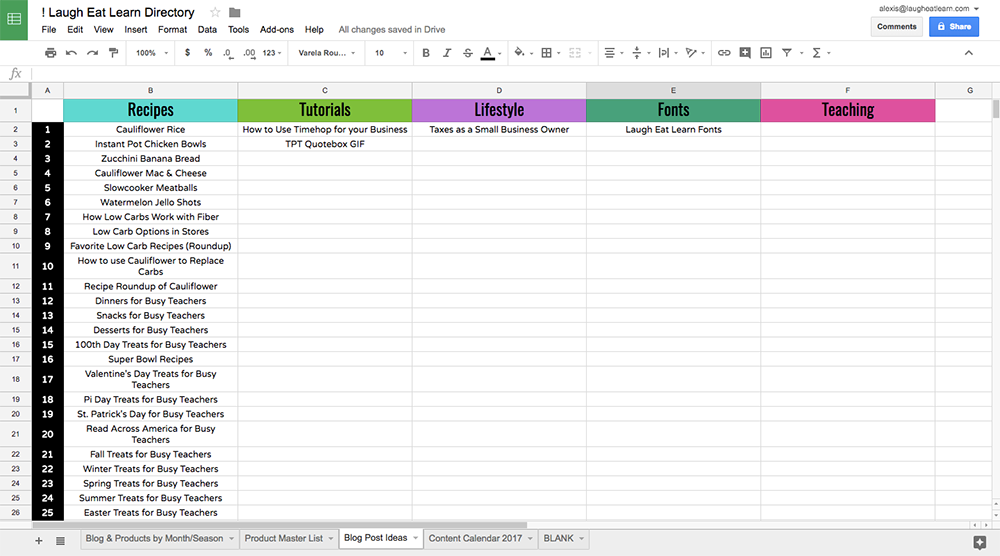
Here you can see an example of my 5 main topics here at LEL.
This didn’t happen over night though, it takes time to narrow down what your passions are all about. Take your time with this step. If you need continued help (I did), I highly recommend the Content Brew course from Blog Clarity. This course really was the best thing I’ve paid for for my business in a while. It really helped me narrow down, come to terms, and adjust my blogging mindset to be successful in this space of the internet. If you need guided support, this is something you should check out.
2. Think about how often you want to publish
How much time do you really have to sit down and write each week? It’s more than sitting down for a few hours to knock one out. You have to consider how long it takes for photos, editing, outlining, writing the content, and creating graphics. That’s all just for the blog, not thinking about social media or sharing on Pinterest. All that time adds up so you want to make sure you don’t overwhelm yourself by trying to pump out tons of content without having a plan in place or the time to do so.

For me, I’ve been really narrowing down to three times a week with a few days in between. This gives me time to plan my posts during those in between days without feeling like I’m rushing. But I am flexible on my week so if it doesn’t work that week to post three times, I don’t. Listen to your self and whatever you have going on that week before you burn yourself out. When planning, I always sit down with my plans for the week and either take photos or edit them (if I’m ahead of schedule) for the week. On Tuesday’s I create the actual post draft on my blog with the exact titles and a permalink that is a good fit for the post with SEO in mind (short & direct to the point urls). Tuesday’s I usually also try to make an outline of main topics I want to write about that week. Then the rest of the week is spent writing the content, adding photos, and scheduling my posts.
If you only have time for one blog post a week, that’s okay. Even if you blog once a month, whatever works for you is going to work for you. Start small and build up if you need to. I suggest once you know how many times you want to post a week/month, find a day of the week that works best for you. I try to post every Wednesday, Friday, and Sunday because they not only have space between each date but they are my best performing days. If you make a plan to post every other Wednesday, then stick with it!
3. Do your research
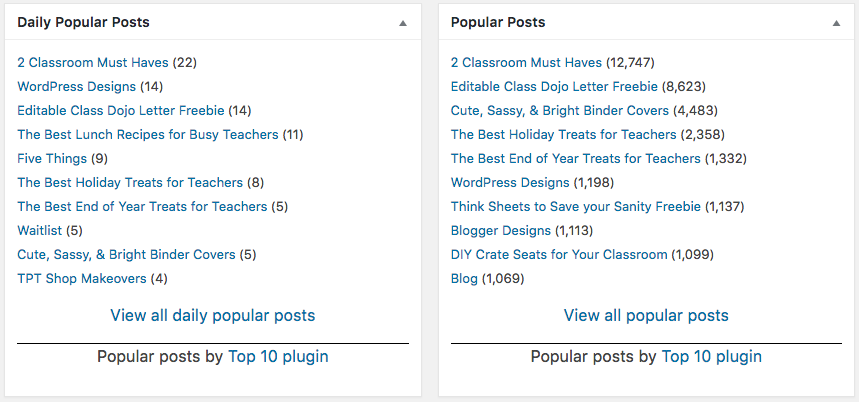
After you have figured out your categories and how many posts you want to produce, you need to do some research, go through your idea books, and through Pinterest for inspiration. Look at your previous posts and see which ones are doing really well with views, how can you branch those off to more posts? I go through my daily and most popular posts everyday with the Top 10 plugin so that I can instantly see what people are loving on my site. If you sell on Teachers Pay Teachers, what products are doing really well? Can you write more about this subjects or show your readers a peek on how it works in your classroom?
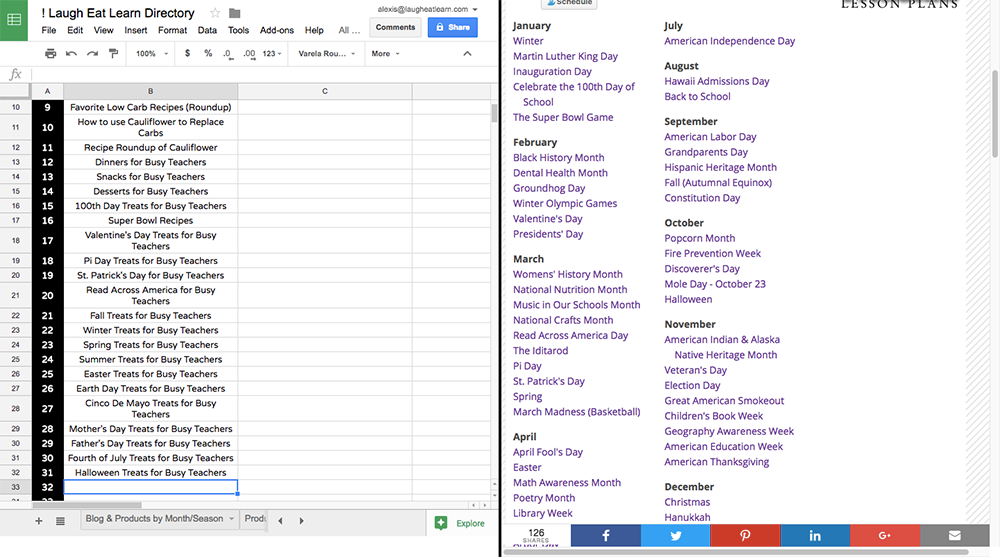
For my recipes, about 80% of the time when I make a meal, I’m taking pictures of it (thanks to Jonathan urging me to do so), just in case I want to use it in the future. By now I have a huge library of recipes so putting together a list was pretty easy. For my tutorials, I take note of things my clients ask me about, what I see on IG, or any other trends I notice when it comes to designs and blogging. I also use seasons drive a lot of my posts so I always use this website to help with those times!
4. Begin your brain storming
Once you figure out how often you want to blog, your categories, and done some research, you need to figure out the math for your spreadsheet. Mine is pretty straight forward because I post every week so I knew I needed at least 52 rows. I went ahead and numbered them down the side and put my categories at the top. Then I simply just begin to add a list of posts one down the other in these rows under each category. Again, you can see how easily I came up with my recipes one because of all the week I’ve done behind the scenes and with the lifestyle we are currently eating.
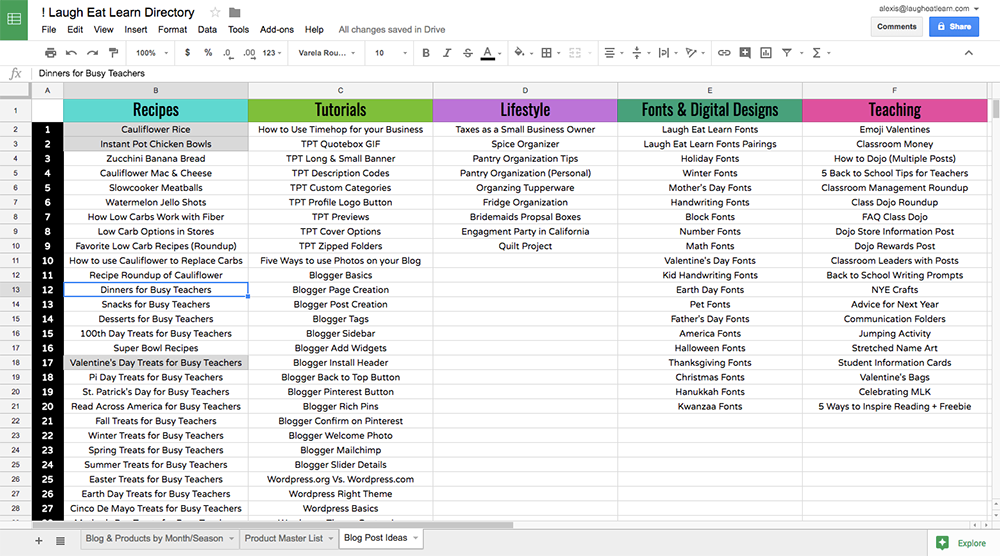
Here is a peek at all I have in store for this year!
When I first put this together, I spent about 1 day on each category to create my list. Don’t just sit there and stare at this sheet all day. Take 5 minutes here or there and keep adding to it. Fill in exactly what you need as this is just a brainstorming space and an idea bank. Nothing is set in stone, it’s just ideas right now.
5. Put it on paper
After you have had fun staring at a computer screen for ever, you are ready to put it on paper (or digital planner, whatever works for you). I’ve learned over the years even though I’m very techy, I do better when I plan on paper. If digital copies work for you, do that! For me, I created a simply table for each month of the year. I dated the top for the week, added the days I post on the side (figure that out, it really helps with your consistency and staying on top of blogging). Next, I also added my newsletter frame that I use each week and a column for TPT because I’m working through updating my products this year.
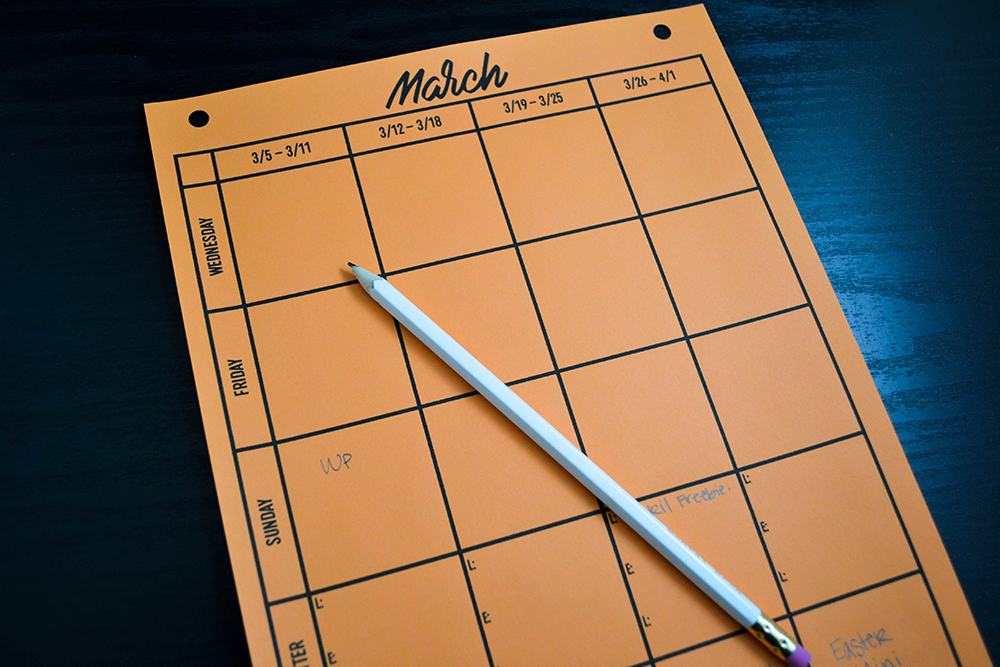
Start with three months at a time, working through each month and if there is something seasonal, I add that in first. I always always always use pencil. So if I need to move a blog post to another space, I can easily erase and move. This step usually takes me a few hours or I break it out into a few days (that way you don’t get overwhelmed).
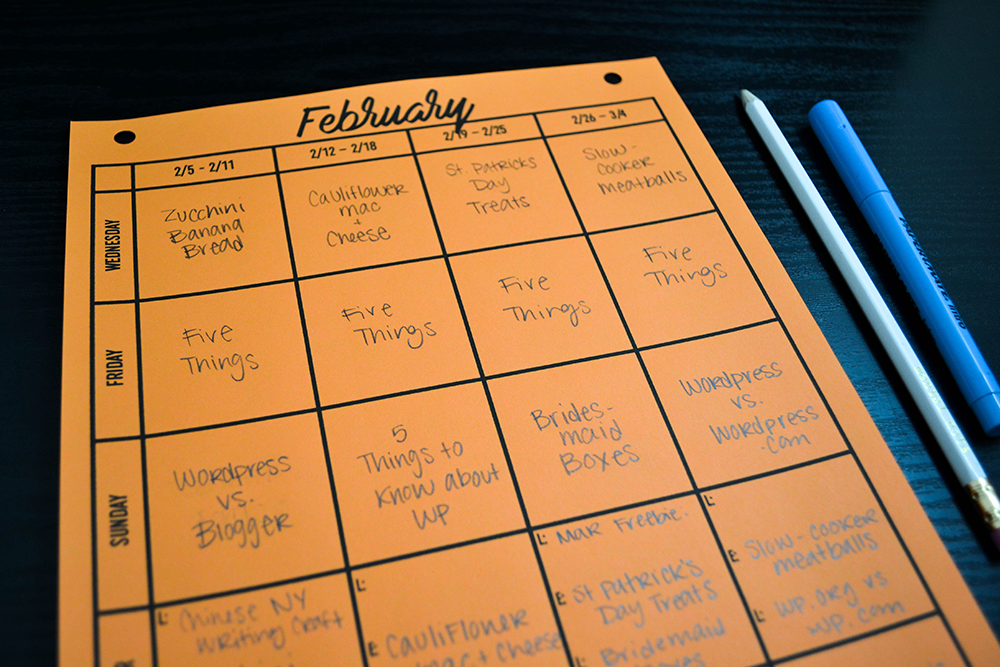
As I work through each month, I make sure that I also make a note in my spreadsheet. I simply change the background color in the cells to a light gray. If I remember to, I want to go back again to the ones I’ve actually published and turn them a bright color so I can keep track of those that are published.
6. Be flexible
This is more so being flexible with yourself, not your blog. If something is not working in your schedule, re-think it. It’s as simple as that. If something comes up, just shake it off and focus on next weeks instead. Consistency is key but flexibility is important. If you know you are going to be swamped one week of the year, then plan ahead. Don’t plan any posts that week or do a round up post that’s easier to produce. Planning ahead helps me stay on top of my blogging. Hopefully it helps you too, but please know I only learn by doing and adapting!
be the first to comment