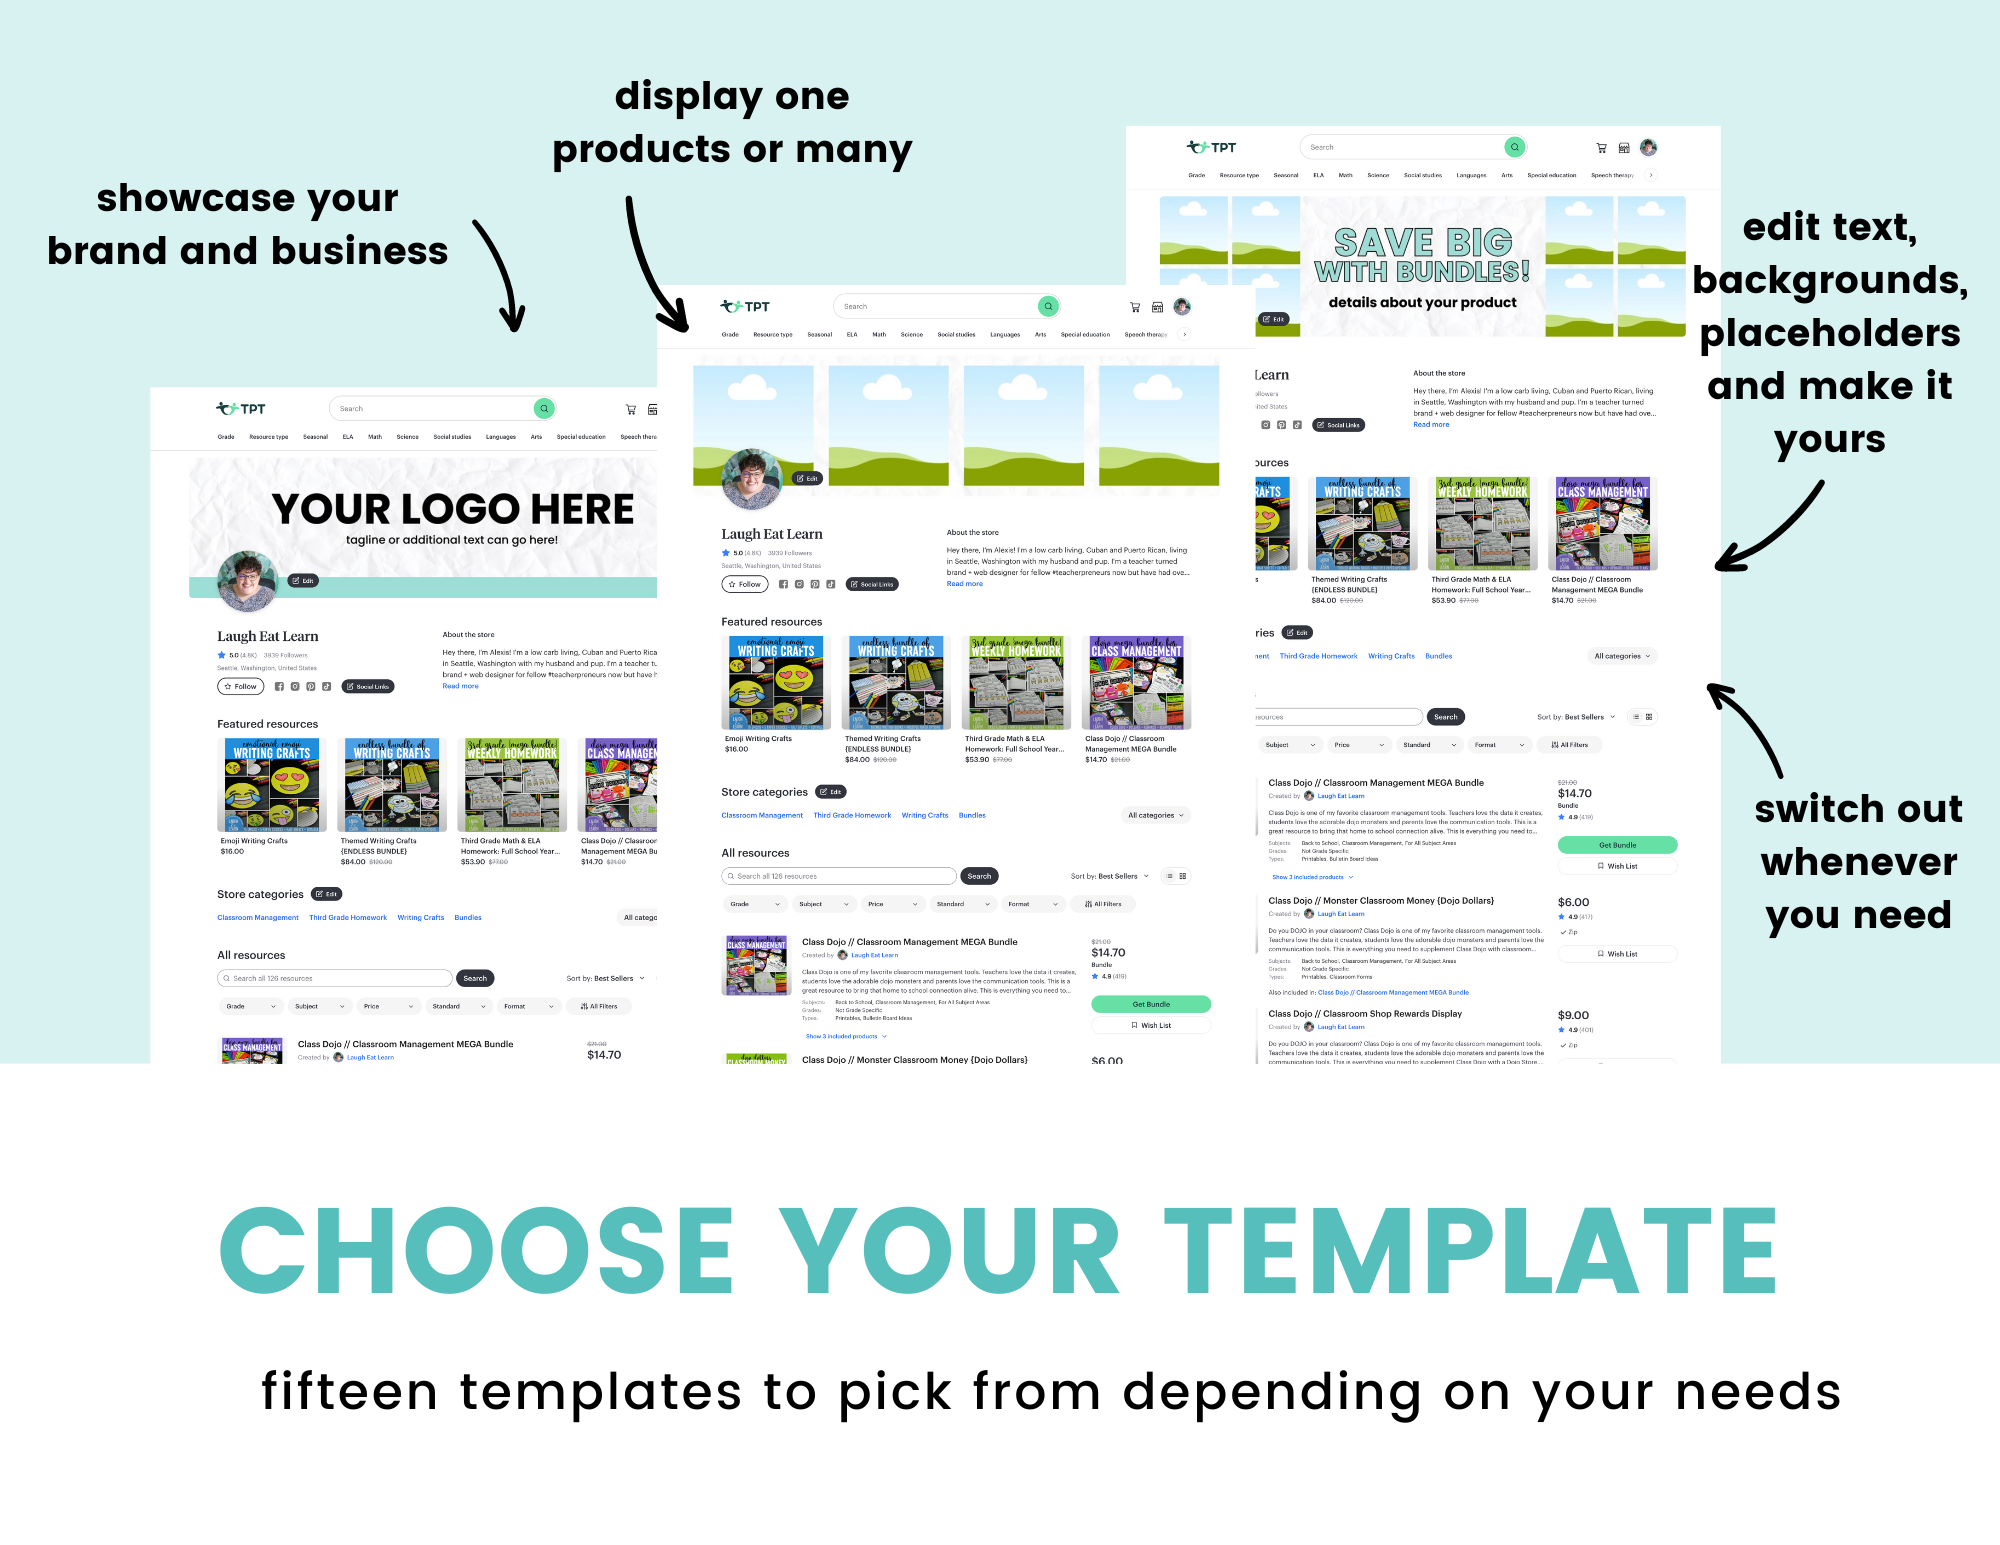
The information in this blog post was originally published on when Teachers Pay Teachers had more options for display areas on your shop. Due to the recent updates to their shop banners, they no longer have these spaces. This blog post will be updated to match the updates but until then check out my TPT Profile Banner Templates to get instant access to create your own banners for your shop!
Hello fellow, Teacherpreneurs! I’m back again to share more about making your Teachers Pay Teachers shop the best it can be. In today’s lessons, I will be going a little deeper into your quotebox space and how to turn that singular image we created here into a mini slideshow of multiple images to display all of your best products in your store! If you have one already installed, really are in need of something like this, or have no idea what I’m talking about, this tutorial will be perfect for you to make your shop even better!
I would highly suggest you spend some time reading through my first tutorial on how to create & install a TPT Quotebox before trying to create a Quotebox GIF. I will refer to this blog post exclusively as they are basically the same process (just multiplied) before you begin to do the slideshow animation. So, if I were you, jump over to this post here before scrolling any further!
A quotebox GIF is basically a mini slideshow for your TPT shop. You can have an unlimited amount of “slides” (I wouldn’t recommend too many though, read more below!) go through a sequence directly in that quotebox space. If you would like to welcome your buyers to your store, introduce them to different product lines, or display multiple images of one product, this is totally what you need!
It’s really utilizing the limited space you have to promote on your shop page. It does take some time to make the different slides but I’ve seen great results when creating GIFs for not only my shop, but many of my clients too. I love seeing the animation on the page as it really brings in your personally, branding, and life to your overall TPT shop.
This is probably the most asked question when working with my design clients. I usually keep my GIF slideshow to about 3-4 max and encourage my clients to do the same. You can totally have more, but do you really want your buyer sitting there watching your slideshow or do you want them to shop? Most buyers don’t spend TOO much time looking through your slideshow before moving onto what they were looking for. If you have multiple slides with different text, I would drop the amount to maybe 3 max.
I’m all about promoting your products in the spaces available on TPT and you should too! This is prime real estate. You want to display your best sellers, product lines, or categories to draw your buyer in. Welcoming your buyers is great, don’t get me wrong, but make sure you do display some sort of promo in that space to utilize it best.
With creating a multiple slide GIF for your store, you really need to make a plan before you begin, trust me. I have my clients (and I do the same thing) always create a folder for each slide they want. In those folders, I make copies of product photos, covers, and/or graphics I want to use on that specific quotebox image. After all of your images are together, I write up on a document or post it the titles and/or text I want on the slides. You really need to keep in mind the space here as there really isn’t a lot. You also need to remember that this will be a slideshow and you want your visitor to be able to read it easily without making a very slow GIF cause of all the text. It’s a fine line, I know. I encourage the teachers I work with to have a main title with a short sentence or phrase (if any).
Also, if you haven’t already (I told you to do this earlier!) make sure you read through my first post about Quotebox spaces and snag the FREE template for PowerPoint on step 1!
Following the directions on How to Create & Install a Quotebox Image on steps 2 and 3. Save each quotebox in the same space so you can easily grab it in later steps. Here is the final product for my client’s requests above. See how much easier it is when you have everything organized and ready!
See her GIF live in Dianna’s shop here!
Now the fun begins! After you have saved everything correctly, you are going to head to the very powerful (and FREE) site called Animated GIF Maker aka EZ GIF. Here is what you do:
Find your download GIF file (usually downloads) and either right click or double tap the text to change the name of the file. This is important because you want to use a little characters as possible and it helps identify what the GIF actually is. I always name mine exactly as they are in short text. Move your renamed file to wherever you keep your important TPT graphics.
This process is pretty much the same as a singular quotebox image. You are going to follow steps 4, 5, and 6 on this post to upload it in your quotebox space. It’s important to note, as TPT has recently made some changes, it’s against their terms of use to link your quotebox image to any outbound links. This means you MUST link to a direct link, category, or type of product in your Teachers Pay Teachers store. You can no longer link to your blog, website, social media accounts, newsletter, or any other link that takes you away from TPT.
See my final GIF live in my TPT Shop!
Are you reading this just thinking, “I love this idea but have no time to do this”? Well, let me help! I’ve worked many teacher sellers just like you on helping them get their shop up, running, and beautifully branded. I have a few different TPT Makeover options, but if you are just wanting a single banner, quotebox GIF, or small banner, I can totally just do that too.
So, what other tutorials would you like to see for Teachers Pay Teachers‘ sellers? I’m happy to share my knowledge as a fellow TPT’er and web designer! Make sure you follow me along on Bloglovin’ for the newest parts to this series. Until then, check out my new pinterest board built just for Teacherpreneurs like you! :]
Thank you so much for including all the details and pics! This is such a helpful blog post. : -)
You’re so welcome! Glad you found it useful! :]
This blog post was perfect! I made my store so much more attractive by doing this. Thank you so much!!!
You’re very welcome!
THANK YOU SO MUCH!! This was soooo helpful, just absolutely to the point instructions with the pictures. I can’t tell you how much I appreciate you!
https://www.teacherspayteachers.com/Store/Kinderberry
It looks fabulous! Happy to help. 😀
This was such a detailed tutorial! It made everything much more simple so I could follow along.
I had trouble downloading clear images from the Google Slides. Is there a reason it might be so blurry?
Glad you love the tutorial! Make sure you are using high resolution images on Google so that they are clear when using them on the template and for downloading. If you continue to have trouble – try Canva with the same dimensions!